|
| |
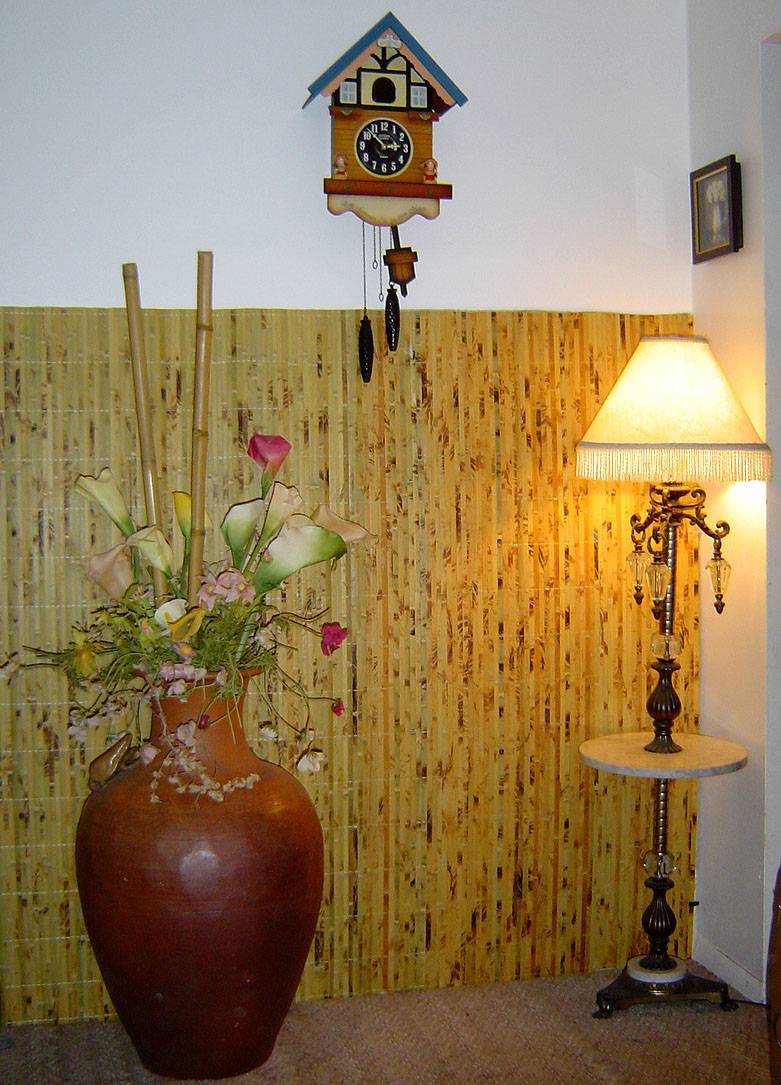 Bamboo wallpaper
Hanging our
bamboo wall cover is very similar
to installing regular wallpaper. Follow these steps to install our
bamboo wall cover.
-
Prepare the walls
If you're hanging wallpaper on new drywall, prime the wall first with
wallpaper with primer to seal the drywall and to help the paper adhere to the wall.
Wash any dirt or dust from old walls
and sand smooth any chipped paint. Remove old wallpaper using wallpaper
remover, a wide blade, and rags. Remove electrical outlets and light switch
covers. Use a putty knife to apply spackle over
holes or cracks. Allow the spackle to dry, then sand lightly until the
surface is smooth.
The first strip of wallpaper will line up with the last strip of wallpaper
you hang and the pattern should match up at the ends. You will want to
start and finish wallpapering in a corner, near curtains, or behind a door
so that any mismatched wallpaper is less obvious. The focal point of the room
should have the fewest seams.
Measure out from your starting point and
use a level to lightly draw a vertical straight edge on the wall. This line
marks where the first strip of wallpaper should be placed.
-
Cut the bamboo wall cover
Lay the first roll of bamboo wallpaper, print side down, on a flat work
surface. Confirm the top and bottom of the pattern. Measure, then cut the
first wallpaper strip to the proper length, adding a few extra inches at the
top and bottom (this will be trimmed off later). Measure and cut the next
several strips in order, paying attention to pattern match. Cutting
vertically is easy, just cut the cotton mesh along the line and don't forget you have the corner space to hide with the molding.
Cutting them horizontally or cross cutting requires a miter chop saw with a
sharp plywood blade. Put the rolled up bamboo cover on the saw and let the
saw run on full speed before slowly lowering the blade to cut the bamboo
wallpaper.
-
Apply wallpaper paste.
For un-pasted wallpaper, apply pre-mixed paste using a large pasting brush
or paint roller, working from the middle to the ends. Be sure that all areas
are covered with paste with no un-pasted spots. Gently fold the top of the
sheet down to the middle so that the pasted sides touch. Next, fold the
bottom edge up to the middle. This allows the paste to cure and keep it from
drying out. Do not crease the wallpaper.
-
Hang the bamboo wall cover
Starting at the ceiling, carefully unfold the top half of the first piece of the
wallpaper and gently place the side edge of the strip along the measured
line. Don’t forget to leave a few extra inches of paper at the top and
bottom for trimming later.
When the strip is in the right position,
drop down the bottom half and gently smooth the paper against the wall with
your hands, beginning at one edge and working your way across. Use a
smoothing brush or damp sponge to smooth out any air bubbles. Use a seam
roller to gently smooth down the edges of the wallpaper.
-
Trim the excess bamboo wall cover.
Use a wide-blade putty knife to hold down the top of the bamboo wallpaper
strip at the ceiling. Use the utility knife or straight-edge razor to trim
the excess wallpaper. Repeat at the bottom of the strip. Carefully clean any
paste from the ceiling and baseboard. Wipe the strip of wallpaper with a
clean, damp sponge to remove any paste and remaining air bubbles.
-
Smooth the corners.
At the corners, measure from the last full-width strip of bamboo wallpaper
to the corner. Add 1 inch to that measurement and cut the next strip of
wallpaper to that width. Activate or apply paste to the strip.
Apply the wallpaper on the wall, making
sure to smooth it totally into the corner for interior corners or around the
corner for exterior corners.
At the corner, make a small slit from the
top of the strip to the wall to allow the strip to lay flat at the ceiling.
Repeat on the bottom to allow the strip to lay flat at the floor. Trim off
the top and bottom and clean the strip.
-
Hang around the corner.
Place the next strip of wallpaper on the wall so that it overlaps the extra
1 inch of paper from the previous piece.
-
Repeat hanging the strips around the
room.
Continue hanging the next strips of bamboo wallpaper, making sure to match
the pattern, trimming at the ceiling and floor, removing any creases or air
bubbles, securing the seams, and cleaning the paste off the paper.
-
Replace light switch and plug plates.
If desired, cover the switch and plug plates with bamboo wallpaper, making
sure to match the wallpaper pattern.
Tips:
-
Don't rush. Work slowly to avoid
making mistakes.
-
Have a large area to work in and don't
crowd yourself.
-
Cover every area of the back of the
wallpaper with paste. Any area left dry, even a small space, will bubble and
not adhere to the wall.
-
Smooth paper surfaces gently. Don't put
any pressure on the face of the wallpaper.
-
Carefully clean off the surface of the
wallpaper before the paste dries.
-
Make sure you use the miter saw with the sharp
plywood grade blade when cutting the bamboo wallpaper horizontally in
bulk rolled up form.
What you will need:
 |
Bamboo wallpaper and paste |
|
Large flat work surface area |
|
Tape measure and level |
|
Ladder |
|
Drop cloth |
|
Sandpaper, spackle, and putty knife
|
|
Bucket, water, water tray, sponges, rags
|
|
Utility knife or a straight edge razor
|
|
Smoothing brush |
|
Seam Roller |
|